
Aurum new game and character creation
Start Game (the New Game entry, see Menu entries) calls Begin New Game Flow, which runs three steps in this order: character creation, difficulty and the intro card. Each one can be turned off in Menu Config > New Game, and the game starts after the last one.
Character creation
Section titled “Character creation”AFMCharacterCreationScreen, Menu Config > New Game Character Creation. A page per step, with a row of steps across the top. Q / E, the bumpers or Continue turn the pages; gamepad Start is Continue.
| Page | What it offers | Filled from |
|---|---|---|
| Name | A name typed on the keyboard, or on an on-screen keyboard with a gamepad, checked as it is typed (“Too long”). Random Name picks one. | Character Names, Name Max Length (16) |
| Origin | Cards to pick from, each described with a few facts. | Character Origins (Highland-born, Harbour-born, Cloister-raised by default) |
| Class | The same, for the class. | Character Classes (Warden, Arcanist, Pathfinder by default) |
| Appearance | A body, colour swatches (up to ten colours a row) and sliders. | Character Bodies, Appearance Swatches (Skin, Hair, Cloak), Appearance Sliders (Height, Build) |
| Attributes | Points to spend, each attribute between its Min and Max. | Character Attributes (Might, Finesse, Wits, Resolve), Attribute Points (6) |
| Summary | Everything chosen, and Begin. |
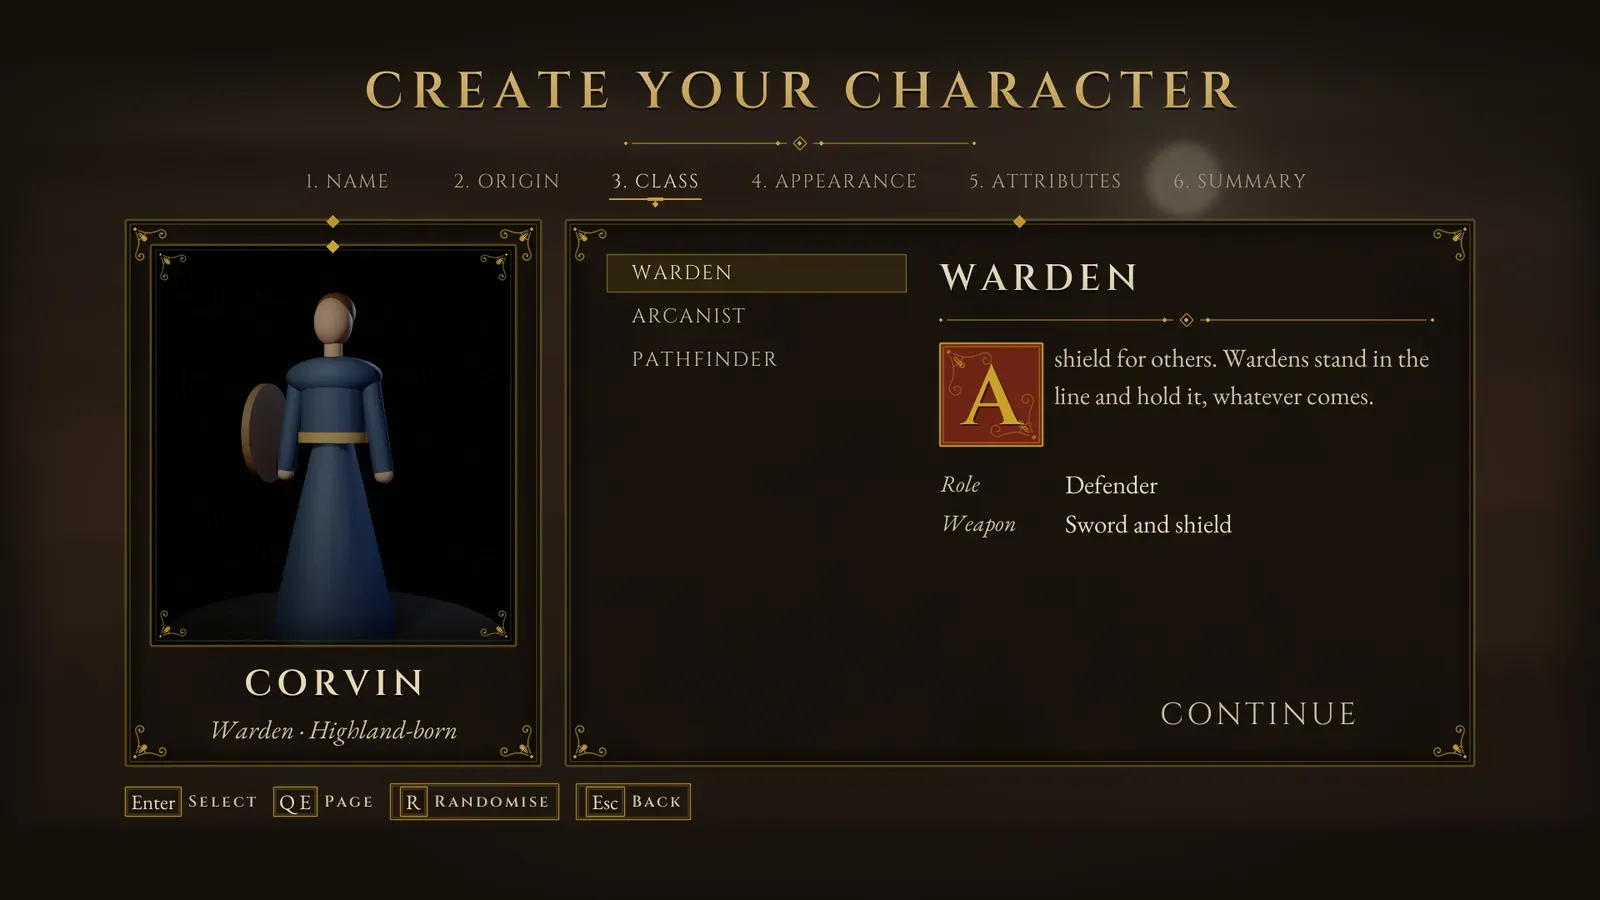
The Class page. The row of steps across the top shows where the player is in the flow.
- Pages with nothing in them are left out: an empty Character Origins skips the Origin page, and an empty Character Bodies hides the body row.
- R or the top face button (Randomise) rolls a whole character (name, origin, class, looks and attributes) and fires On Character Randomised.
The mirror
Section titled “The mirror”The character turns in a gilded mirror on the left. Drag it or use the right stick to turn it; the mouse wheel or the triggers zoom. It is AFMCharacterPreview, spawned far below the level with its own lights (on lighting channel 1) and a scene capture, so only it shows. The built-in one is a robed mannequin of basic shapes that reads the Skin, Hair and Cloth colours and the Height and Build sliders, and carries a shield, a staff or a quiver for the Warden, Arcanist and Pathfinder.
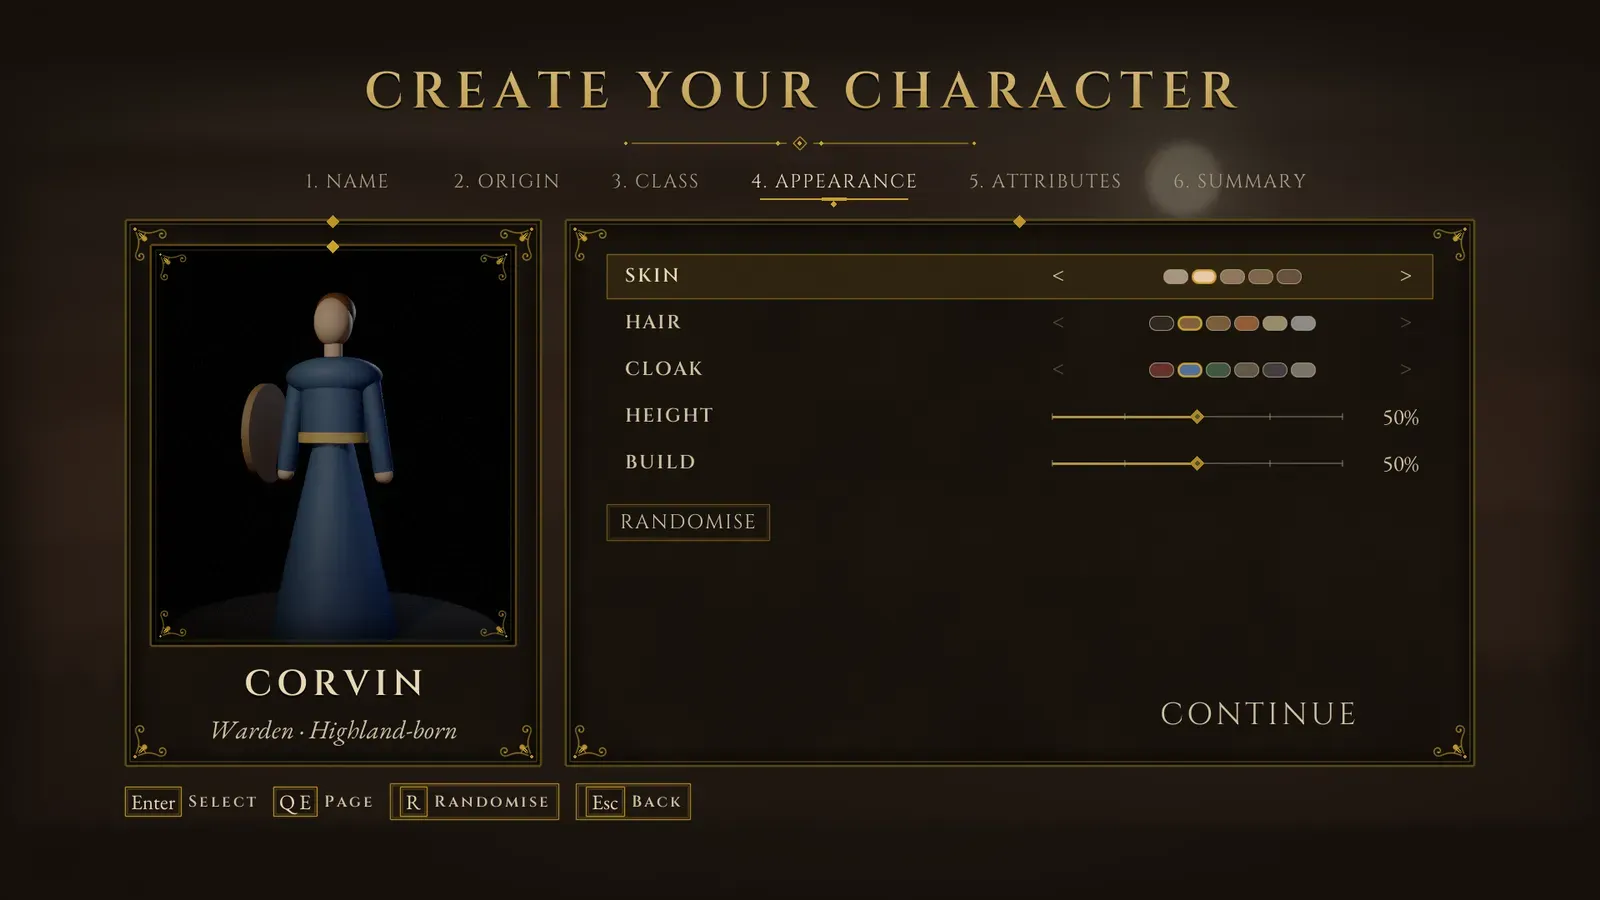
The Appearance page. The mirror follows the swatches and the sliders as the player changes them.
Your own character
Section titled “Your own character”Make a Blueprint child of AFMCharacterPreview, untick Build Mannequin, add your mesh under Turntable (lighting channel 1 only), implement Apply Profile (it runs whenever the player changes something), and set the child as Menu Config > Character Preview Class. With no preview class the mirror shows the chosen body’s (or class’s) portrait.
Difficulty
Section titled “Difficulty”AFMDifficultyScreen, Menu Config > New Game Choose Difficulty. The Difficulties (Story, Adventurer, Veteran and Legend by default, easiest first), each described on a parchment page. Default Difficulty is the one picked to begin with (1, Adventurer). The same list is the Difficulty setting, and the step is skipped with fewer than two levels.
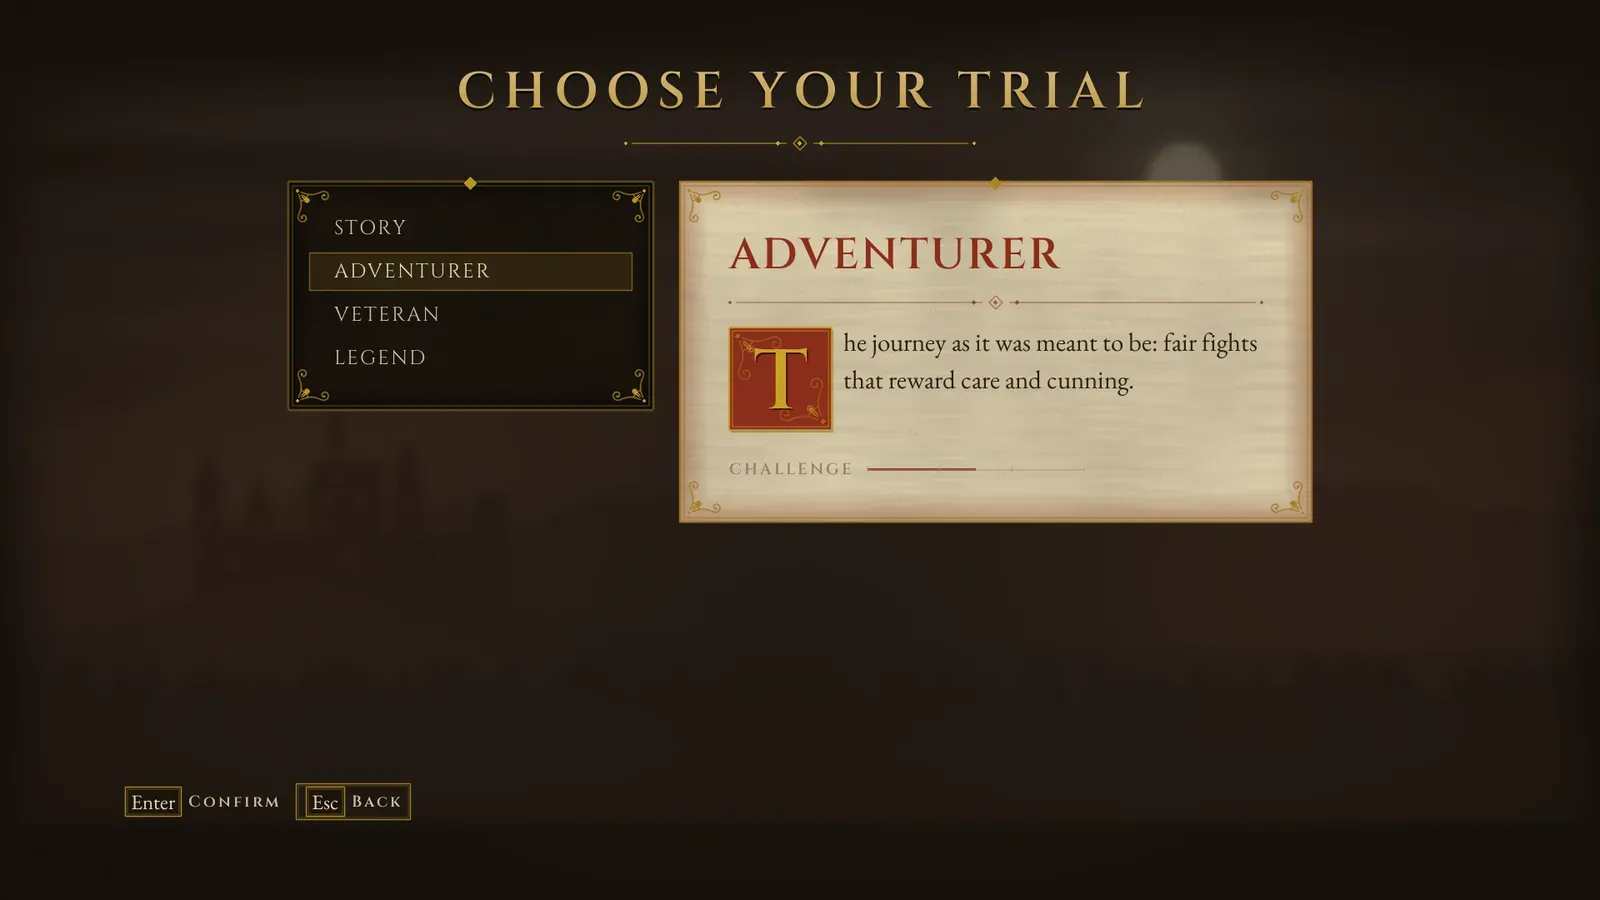
The difficulty step. Each level is described on its own parchment page.
The intro card
Section titled “The intro card”AFMIntroCardScreen. Intro Title and Intro Text on a parchment card; Begin starts the game. An empty Intro Text skips it.
The character in your game
Section titled “The character in your game”The character is an FAFMCharacterProfile: Name, Class Id, Origin Id, Body Id, Colors (by swatch Id), Sliders (by slider Id), Attributes (by attribute Id) and Difficulty (an index into Difficulties).
- On Character Confirmed (Assetpro Menu Subsystem) fires when character creation finishes: set up your player there.
- When the game starts, the save subsystem keeps the profile in every save and restores it on load: read it any time with Get Character Profile on the Assetpro Save Subsystem.
- Setting the profile also fills the save cards’ Extras: the name, the class and the body (for the portrait).