Horizon key rebinding
The Controls tab shows a row for each player mappable key in your Enhanced Input setup.
Setting it up
Section titled “Setting it up”-
Enable Project Settings > Engine > Enhanced Input > User Settings (Enable User Settings).
-
Give your Input Actions Player Mappable Key Settings with a Name, Display Name and Display Category.
-
Register your mapping context with Enhanced Input User Settings > Register Input Mapping Context, for example on Begin Play of your player controller.
How it behaves
Section titled “How it behaves”- Keyboard and mouse rows have a primary and a secondary slot, and are grouped by Display Category. Gamepad mappings get their own Gamepad Bindings section.
- Select a slot and press Enter or A, then press the new key. Escape, or B, cancels.
- A key that is already in use moves to the new action, so keys never double up.
- Delete, Backspace or gamepad X clears a slot. Reset Key Bindings restores the defaults.
- Bindings are saved with Enhanced Input’s user settings.
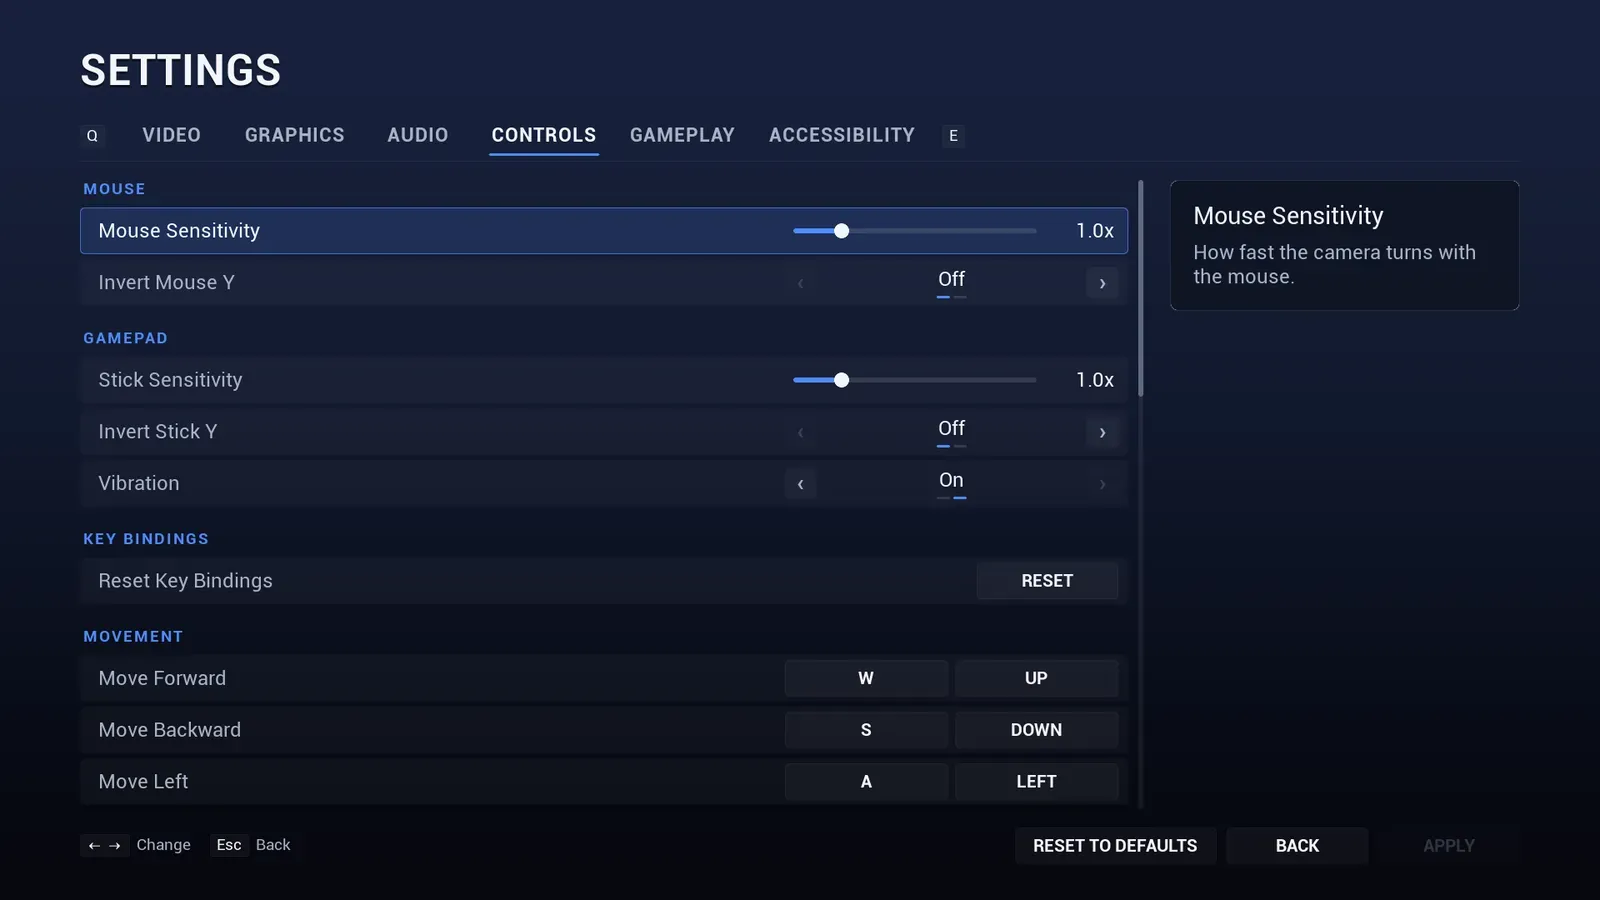
Keyboard and mouse rows, grouped by their Display Category.
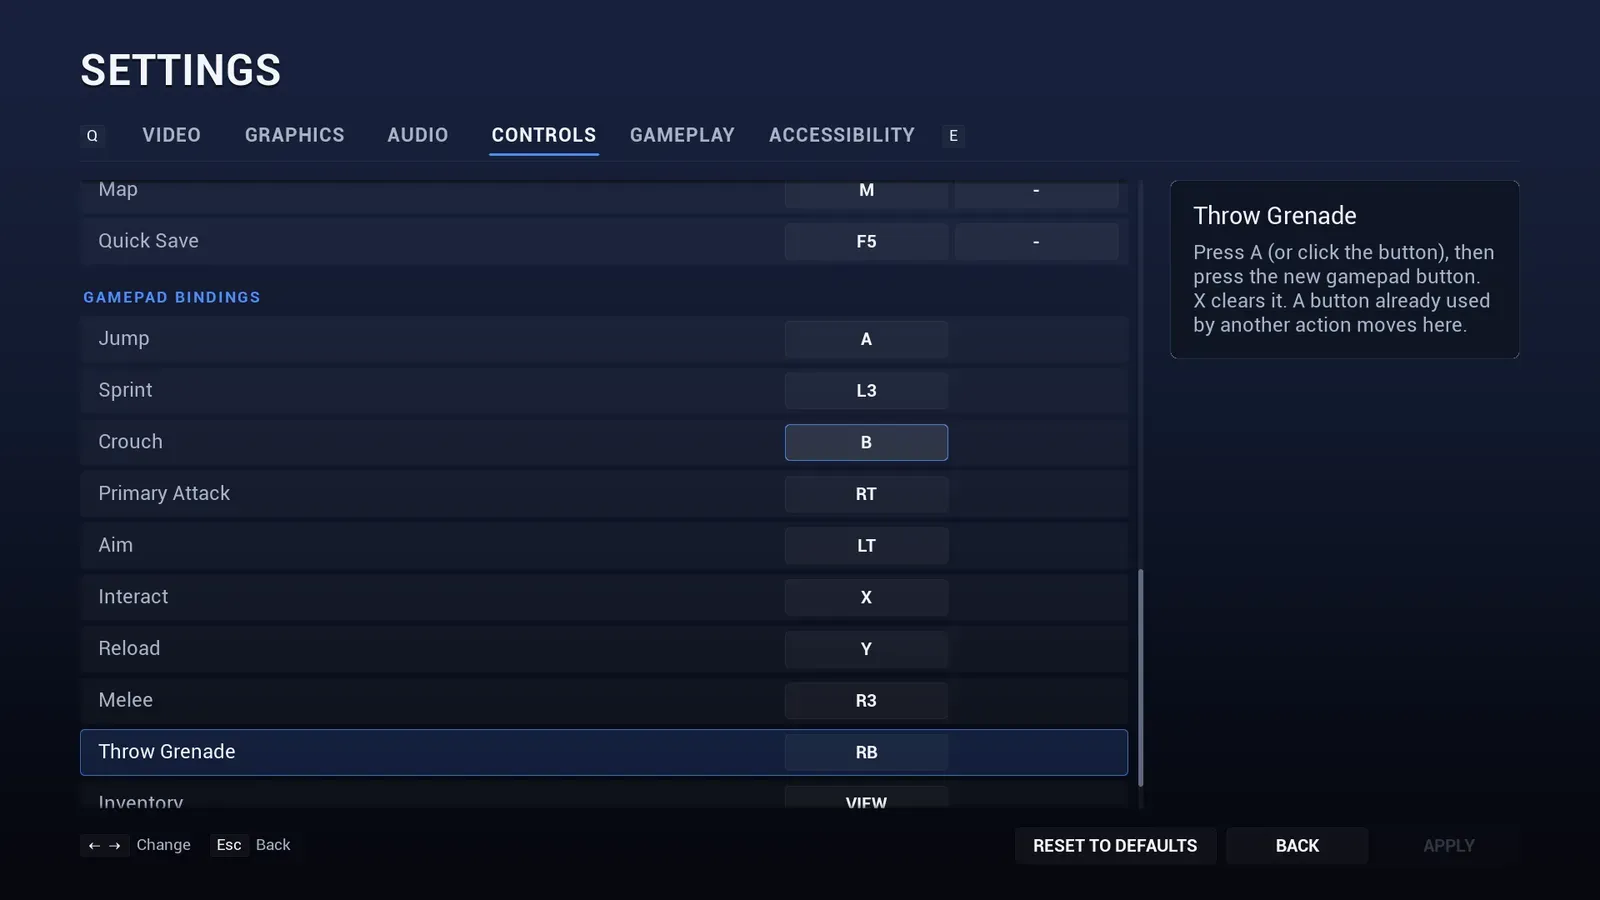
Gamepad mappings get their own section.
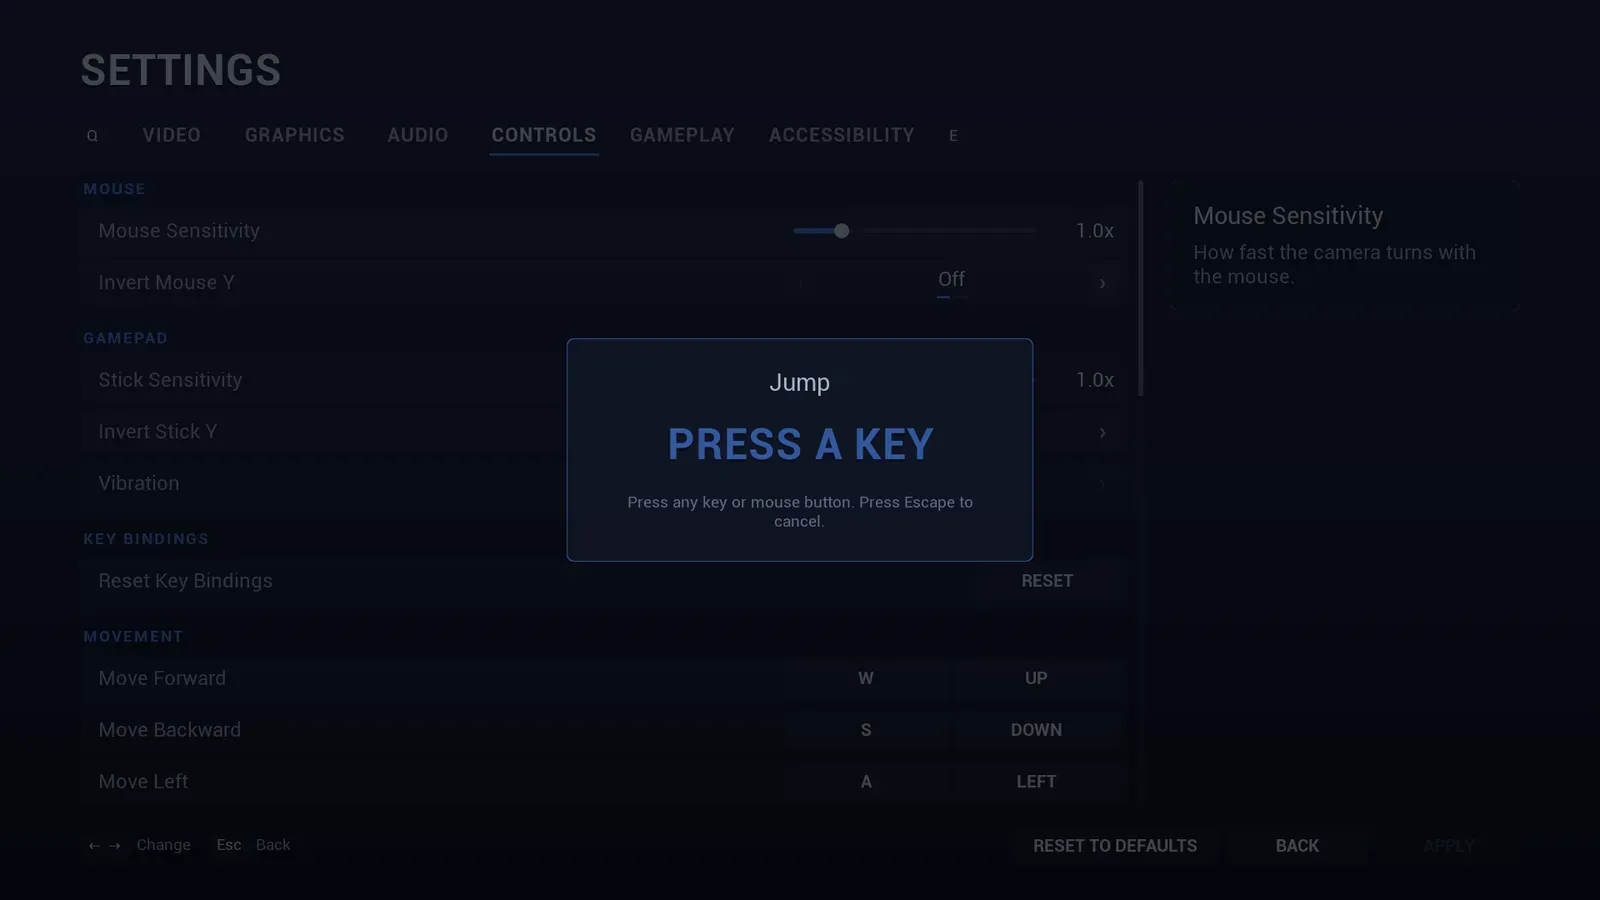
Selecting a slot asks for the new key.
The key profile class
Section titled “The key profile class”The plugin selects its own key profile class (AMSPlayerMappableKeyProfile), so a cleared binding, or a button moved to another action, stays unbound in game. Enhanced Input 5.4 would otherwise fall back to the default gamepad button.
If your project sets its own Default Player Mappable Key Profile Class, derive it from AMSPlayerMappableKeyProfile.